Showing posts with label painted. Show all posts

Sunday, 5 March 2017

Bolt Action: Stalingrad Soviets (Paint Guide)

Hi guys, after a few hours research on google (how did we cope without it) for uniform colours the first thing to note is that the Soviet Army uniforms come in a wide range of colours and shades. At the time they came from various sources and the Soviet Union was a vast area with millions of soldiers. Hmm, what to go for then.

I guess the classic "look" is greeny yellow sort of Khaki colour but the photos on Warlords Infantry box shows a more yellow/brown colour.

So I decided to just make something up! I knew I wanted a yellowish colour so decided to prime with a black primer rattle can (GW) then used Desert Yellow (Army Painter) rattle can which gave me a dark yellow base.

The plan was to use a wash over the entire model after painting all the base colours. One wash to rule them all.... 

So as far as the bulk of the models goes the yellow base was perfect. I then blocked in the flesh, weapons, helmet and straps. I then highlighted the flesh but at this point decided to leave the helmet the base colour and not highlight. It looked better darker.

If you plan on doing this or any other wash technique be sure to make the painted areas lighter than you want as the was will darken the areas as well as add definition to the piece. In terms of washes I made my own magic blend...

Gone are the days of making your own washes (thank goodness) and I like the GW range of washes but the following would work with any wash based product. I did not use inks. These radically alter the colours and would not suit what I wanted to achieve.

I started with 1 part Nuln Oil (GW), 1 part Baal Red (GW old name), 2 parts Flesh Wash (GW old name) and 4 parts Earth Shade (GW old name). I used an emply pot and made a full pot to use for the army. I even used it on the stone bases to break up the grey.

The final effect is great and I am happy with it. I plan to grubby up the units except the inexperianced squad to show they are new to the field.

I did plan on an all over light drybrush of Khaki but the models just do not need it. If it aint broke why fix it.

With the above techniques I can knock out a squad in two hours. To the standard achieved I am happy with that!

I have put some photos below including a paint list. I did use a metallic on the metal areas before washing as am after thought.

Any how 60 more dudes to paint so I will do another blog in a few weeks when more progress it made.

Enjoy.

Wednesday, 29 June 2016

Bolt Action: A brave new world for a 40k player PART 4

After a few hours every weekend and a few weekday evenings I have finished my American Army for Bolt Action.
I have the bases to paint but thats a minor thing that will take me a few minutes one night.
Enjoy.
Capt Tycho

Thursday, 31 March 2016

Paint Space Marine Terminator Eyes Tutorial

Hi there. I have recently blown the dust off my paints and jumped straight into painting a new unit of Blood Angel Terminators. I decided to do glowing eyes on them and experimented with a few different techniques and below is the fastest way I found.

Glazes take too long but do look cool but I wanted a faster, easier and more striking technique. The method below takes no time at all... enjoy!

(Photos below)

Step 1: Choose colours

You must go for a contrasting colour. I.e do not do red eyes on a red marine! A colour wheel can help pick a suitable colour if you are stuck but as a quick guide I would do red eyes for dark models. So your blacks, purples, greens and blues basically and green eyes for your reds and yellows. Blue eyes go very well with white or greens. There are cross overs as well. For example yellow marines look good with red or green eyes. Its all down to the rule of cool.

For this example I used green for my Blood Angels. You will need two colours of your chosen colour. A very dark base colour and a mid tone.

I went with GW Caliban Green and GW Moot Green. You will also need a white.

Step 2: Base

For this step you need to first block in the entire lense in your base colour. Once this is done (be brave) you need to literially paint a ring around the lense. This is the base of the glow. Be sure to hit the raised areas such as the cheeks as these would naturally catch the glow.

Step 3: 50% Base + 50% mid tone

Now you want to mix a 50/50 mix of your base colour and mid tone. You want a nice heavy milk like consistancy. Slightly thicker than a "normal" for painting. You need it this way for control.

Again block the entire lense with this mix then again ring the outside of the lense. Be sure to leave a ring of the dark colour at the edge. This gives you the start of your gradient.

Step 4: Mid tone

Using pure mid tone colour. Again, block the lense and do the smallest ring possible around the lense leaving a thin band of the previous colours on the outer edges.

Step 5: 50% Mid tone + 50% white

Now mix together a 50/50 mix of your mid tone colour and white. This now needs to be applied in a thin band inside the lense leaving a ring inside the lense showing the previous step colour. For the Terminators I did a thin line inside the lense.

You could stop here and you would have a cool looking glow effect but to really kick ir up a gear...

Step 6: Pure White

Using a very fine brush you need to place a spot 2/3rds of the way up the lense of white. This really makes the effect pop if done well. Hold your nerve and give it a go.

Happy Hobby!
Capt Tycho

Sunday, 16 February 2014

Imperial Fists Painting Challenge UPDATED

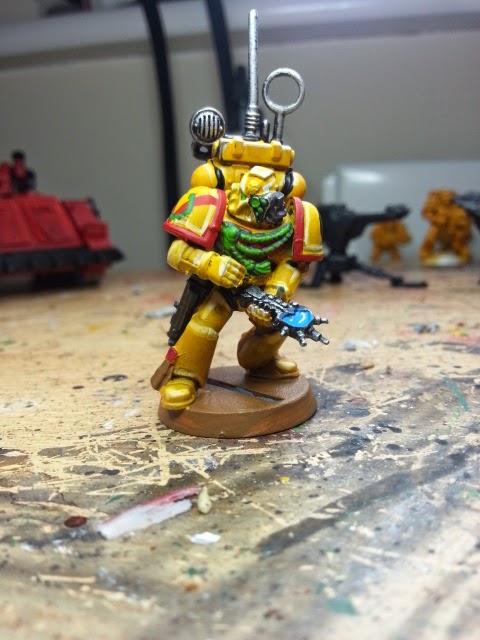
Just started a painting challenge over at Independant Characters to motivate me to get my fists upto legion levels. With the new forge world book on the horizon I need to get my fists worth for Dorn!

Anyhow, you can check out my progress over at http://www.theindependentcharacters.com/forums/viewtopic.php?f=87&t=6759&p=75561#p75561

Here is the latest results as of April...